How to Use Cartridge Epoxy Grout: A Step-by-Step Guide
Using cartridge epoxy grout can significantly enhance the durability and aesthetic appeal of your tiled surfaces. Known for its stain resistance and exceptional bonding properties, epoxy grout is ideal for various applications, including kitchens, bathrooms, and commercial spaces. This article will walk you through the essential steps to successfully use cartridge epoxy grout, ensuring a professional finish.
Step 1: Match the Tile Color
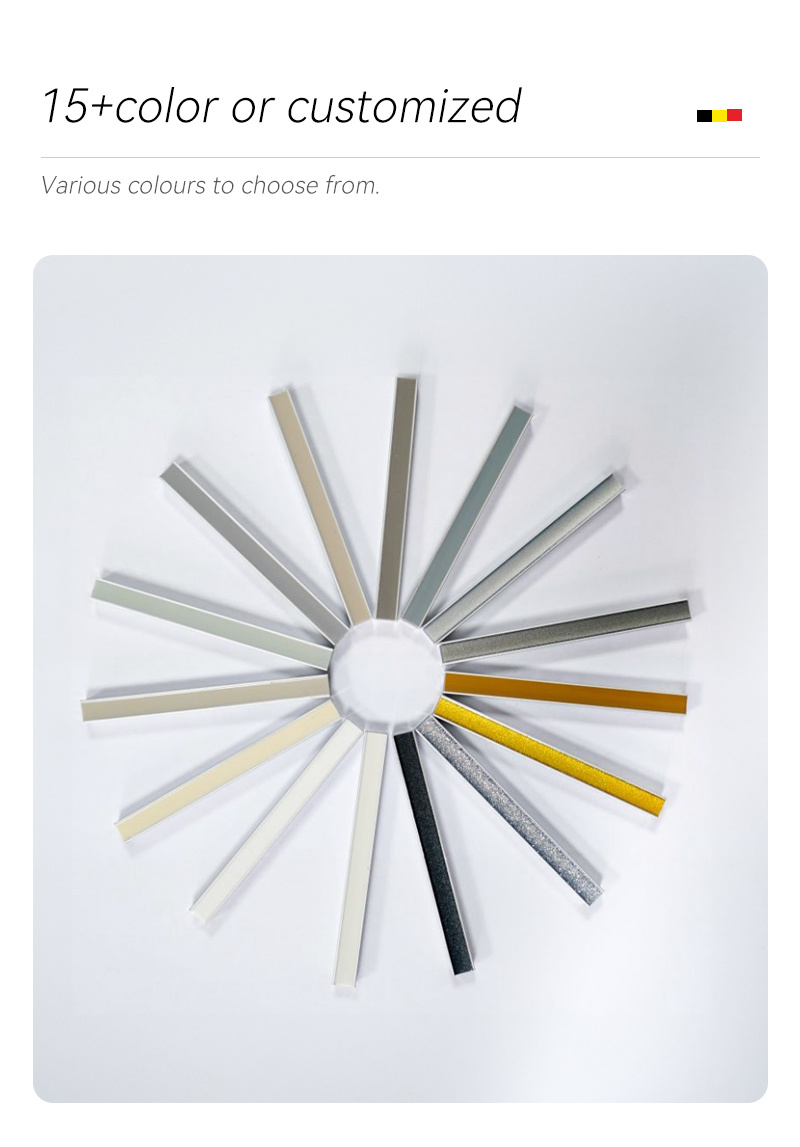
Before you begin, it's crucial to select an epoxy grout color that complements your tiles. Most epoxy grout products come in a range of colors, allowing you to choose one that harmonizes with your tile design. You can compare the color samples against your tiles in natural light to ensure a perfect match.

Step 2: Clean the Tile Gaps
Proper preparation is key to achieving a seamless grouting finish. Begin by cleaning the tile gaps thoroughly. Remove any dust, dirt, or debris to ensure that the epoxy adheres properly. You can use a vacuum or a soft brush to clear out the joints. If there’s old grout, make sure to remove it completely, as any remnants can affect the adhesion of the new grout.
Step 3: Wax the Gap Sides
To achieve a neat finish and avoid epoxy grout sticking to the tiles and more easy to remove the excess grout later, consider waxing the sides of the gaps. Use a non-toxic wax or a grout release product to coat the edges of the tile surfaces surrounding the gaps. This will help you achieve clean lines and facilitate easier cleanup of excess grout later.
Step 4: Grouting (or Caulking)
Now it’s time to apply the epoxy grout using the cartridge. Follow these steps:
Prepare the Cartridge Epoxy Grout: Cut the nozzle of the cartridge at a 45-degree angle. The width of the cut should correspond to the gap size.
Load the Caulking Gun: Place the cartridge into a caulking gun, ensuring it’s securely aligned.
Apply the Grout: Starting from one corner, gently squeeze the trigger of the caulking gun, allowing the epoxy grout to fill the gaps evenly. Move steadily along the joints, ensuring all gaps are filled.
Step 5: Level the Gaps
After applying the epoxy grout, use a tool to level the gaps. Hold the tool at a 45-degree angle to the tile surface and gently run it over the grout lines. This process helps remove any excess grout and ensures a smooth, even finish.
Step 6: Clean the Excess Grout
Allow the grout to set for about 6-8 hours(if weather is cold, then 10-12 hours) before cleaning the excess. At this stage, the grout will be firm but not completely cured. Use a small shovel or spade to carefully shave away any excess grout that has spilled over onto the tile surfaces. This method allows for precise removal without disturbing the grout lines, ensuring that you maintain clean and defined joints.
Step 7: Wait 24 Hours
Once you have cleaned off the excess grout, allow the epoxy grout to cure for a full 24 hours. This time allows the epoxy to achieve its maximum strength and bond with the tiles. It’s essential to keep the area dry and avoid any heavy foot traffic during this time.
Step 8: Clean the Room
After the 24-hour curing period, it’s time to clean the room. Remove any tools, unused grout cartridges, and debris from the workspace. Wipe down all surfaces to remove any dust or residue left from the grouting process.
Conclusion
Using cartridge epoxy grout may seem intimidating at first, but by following these steps, you can achieve a professional and durable finish for your tiled surfaces. With its unmatched resilience and aesthetic appeal, epoxy grout is an excellent choice for any tiling project. Remember to take your time during each step, from matching the tile color to the final cleaning, and enjoy the long-lasting results of your hard work!
Summary:
Using cartridge epoxy grout can significantly enhance the durability and aesthetic appeal of your tiled surfaces
Time:
2024-12-26
More News
